Bambu FDM Printer
How to prepare, send and finish prints on the Bambu P1S and P1P in the lab. Covers slicer setup, AMS configuration, material selection and print parameters.

3D Printing with Bambu Labs
We have different types of Bambu Printers in lab (P1S and P1P). Take care to select the correct printer in Bambu Studio.
Using the Lab Computer
The lab has a dedicated computer connected directly to all printers. It has Bambu Studio installed and is configured for all machines in the lab. Prepare your file at home, bring it on a USB drive or send it to yourself, then slice and send from the lab computer.
Supported file formats are .stl, .obj and .3mf. If you are using Autodesk Fusion, you can export directly via File → 3D Print or use the keyboard shortcut S → 3D Print.
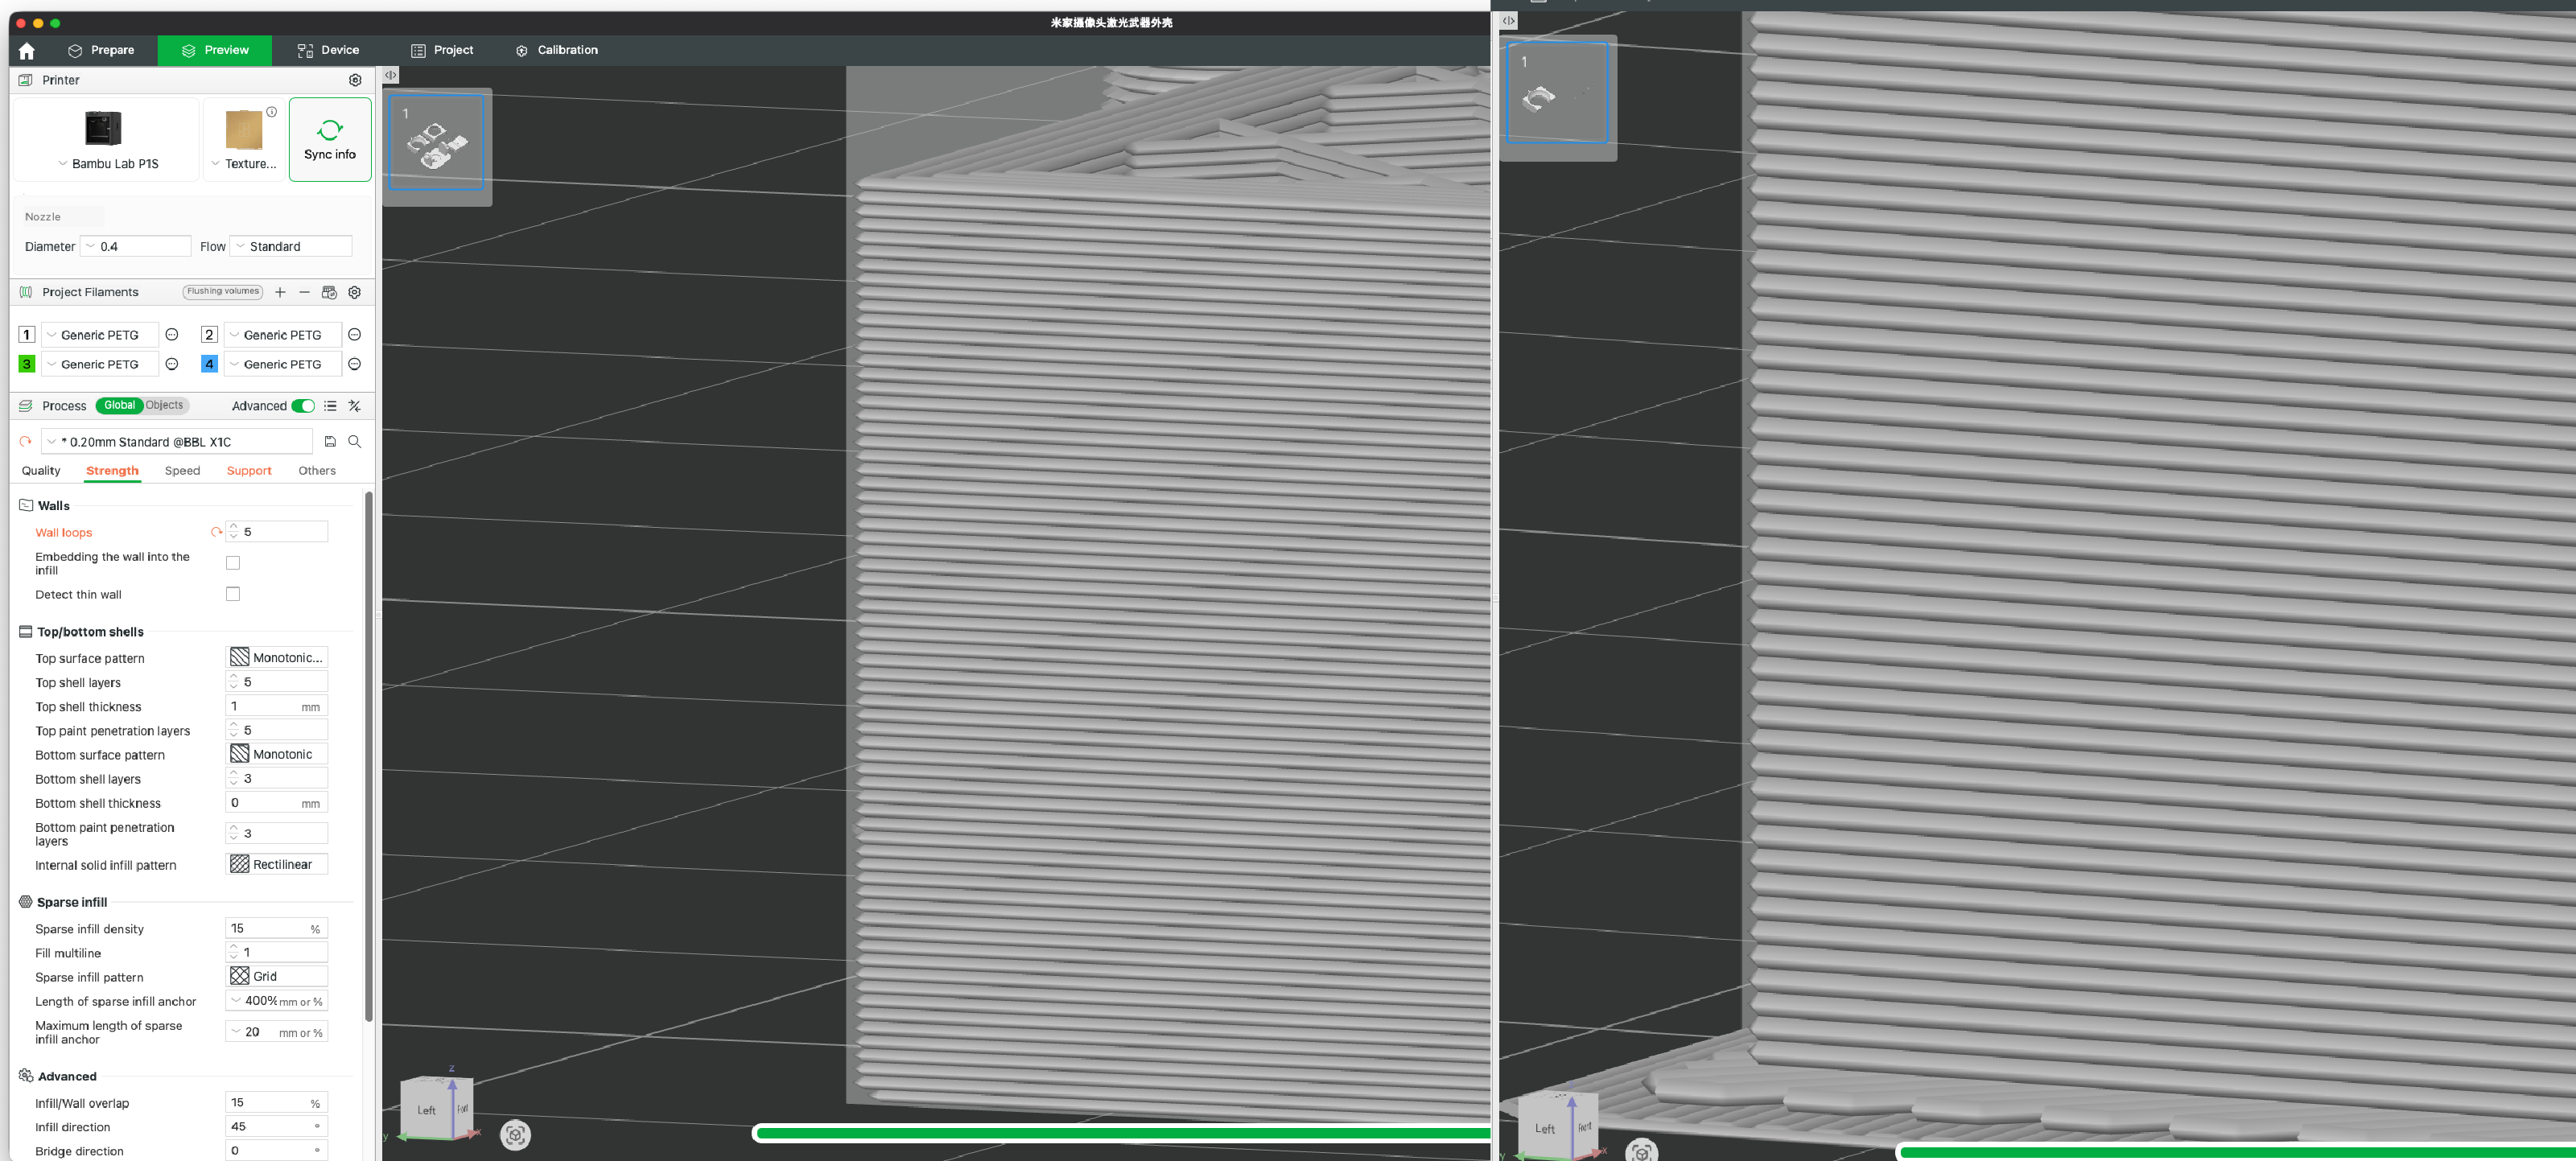
Setting up Bambu Studio
Check the following:
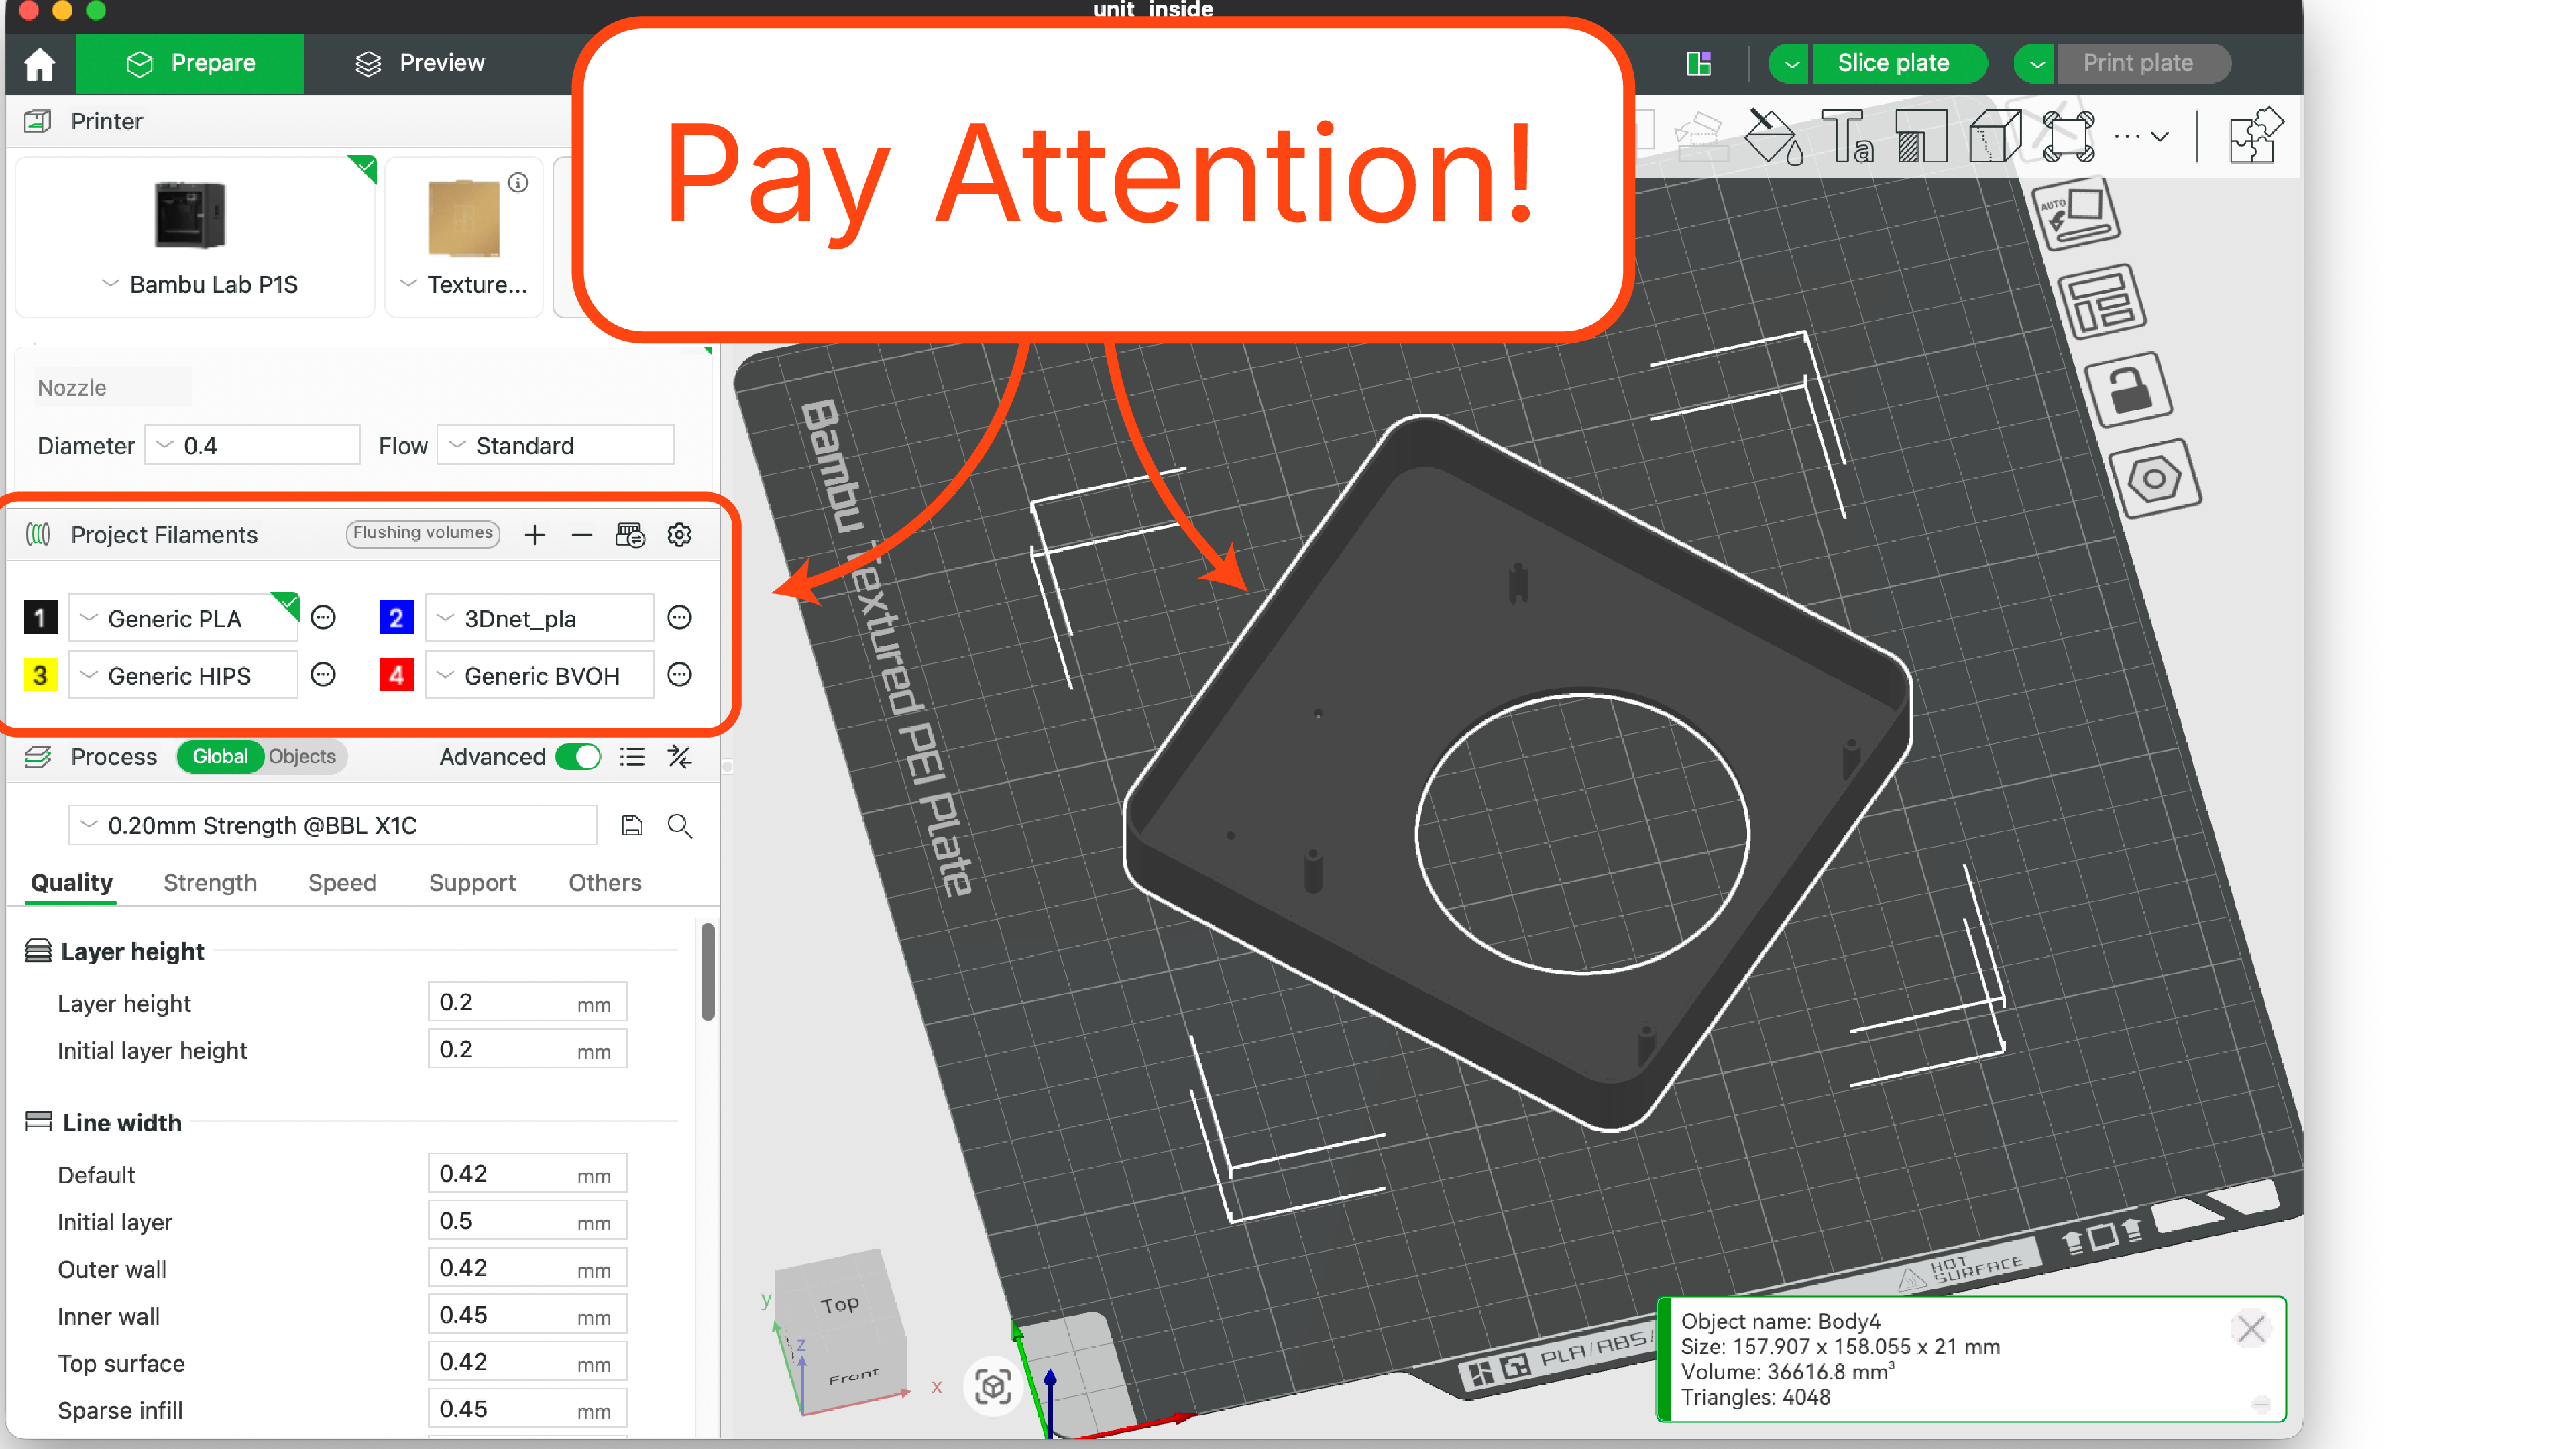
Select correct printer: Bambu Studio supports several different printers. Make sure you select the correct one — either Bambu X1 Carbon, Bambu P1P or Bambu P1S.
Select correct build plate: All Bambu printers support several build plate types. The settings in the slicer must match the build plate that is in the printer. The build plate has clear markings indicating which type it is. Make sure the slicer selection matches the plate in the printer. The printer does not check this automatically and choosing the wrong build plate can damage both the printer and your part.
Nozzle size: All printers in lab use the standard Bambu nozzle size of 0.4mm. Make sure the slicer is set to 0.4mm.
Select correct material: The Bambu printers support a wide variety of materials, each with different parameters for heating, extrusion rate and cooling. Bambu Studio has presets for most common materials (PLA, ABS, PETG, etc.) — use these when setting up a print. If you are unsure which material or template to use, ask lab staff.
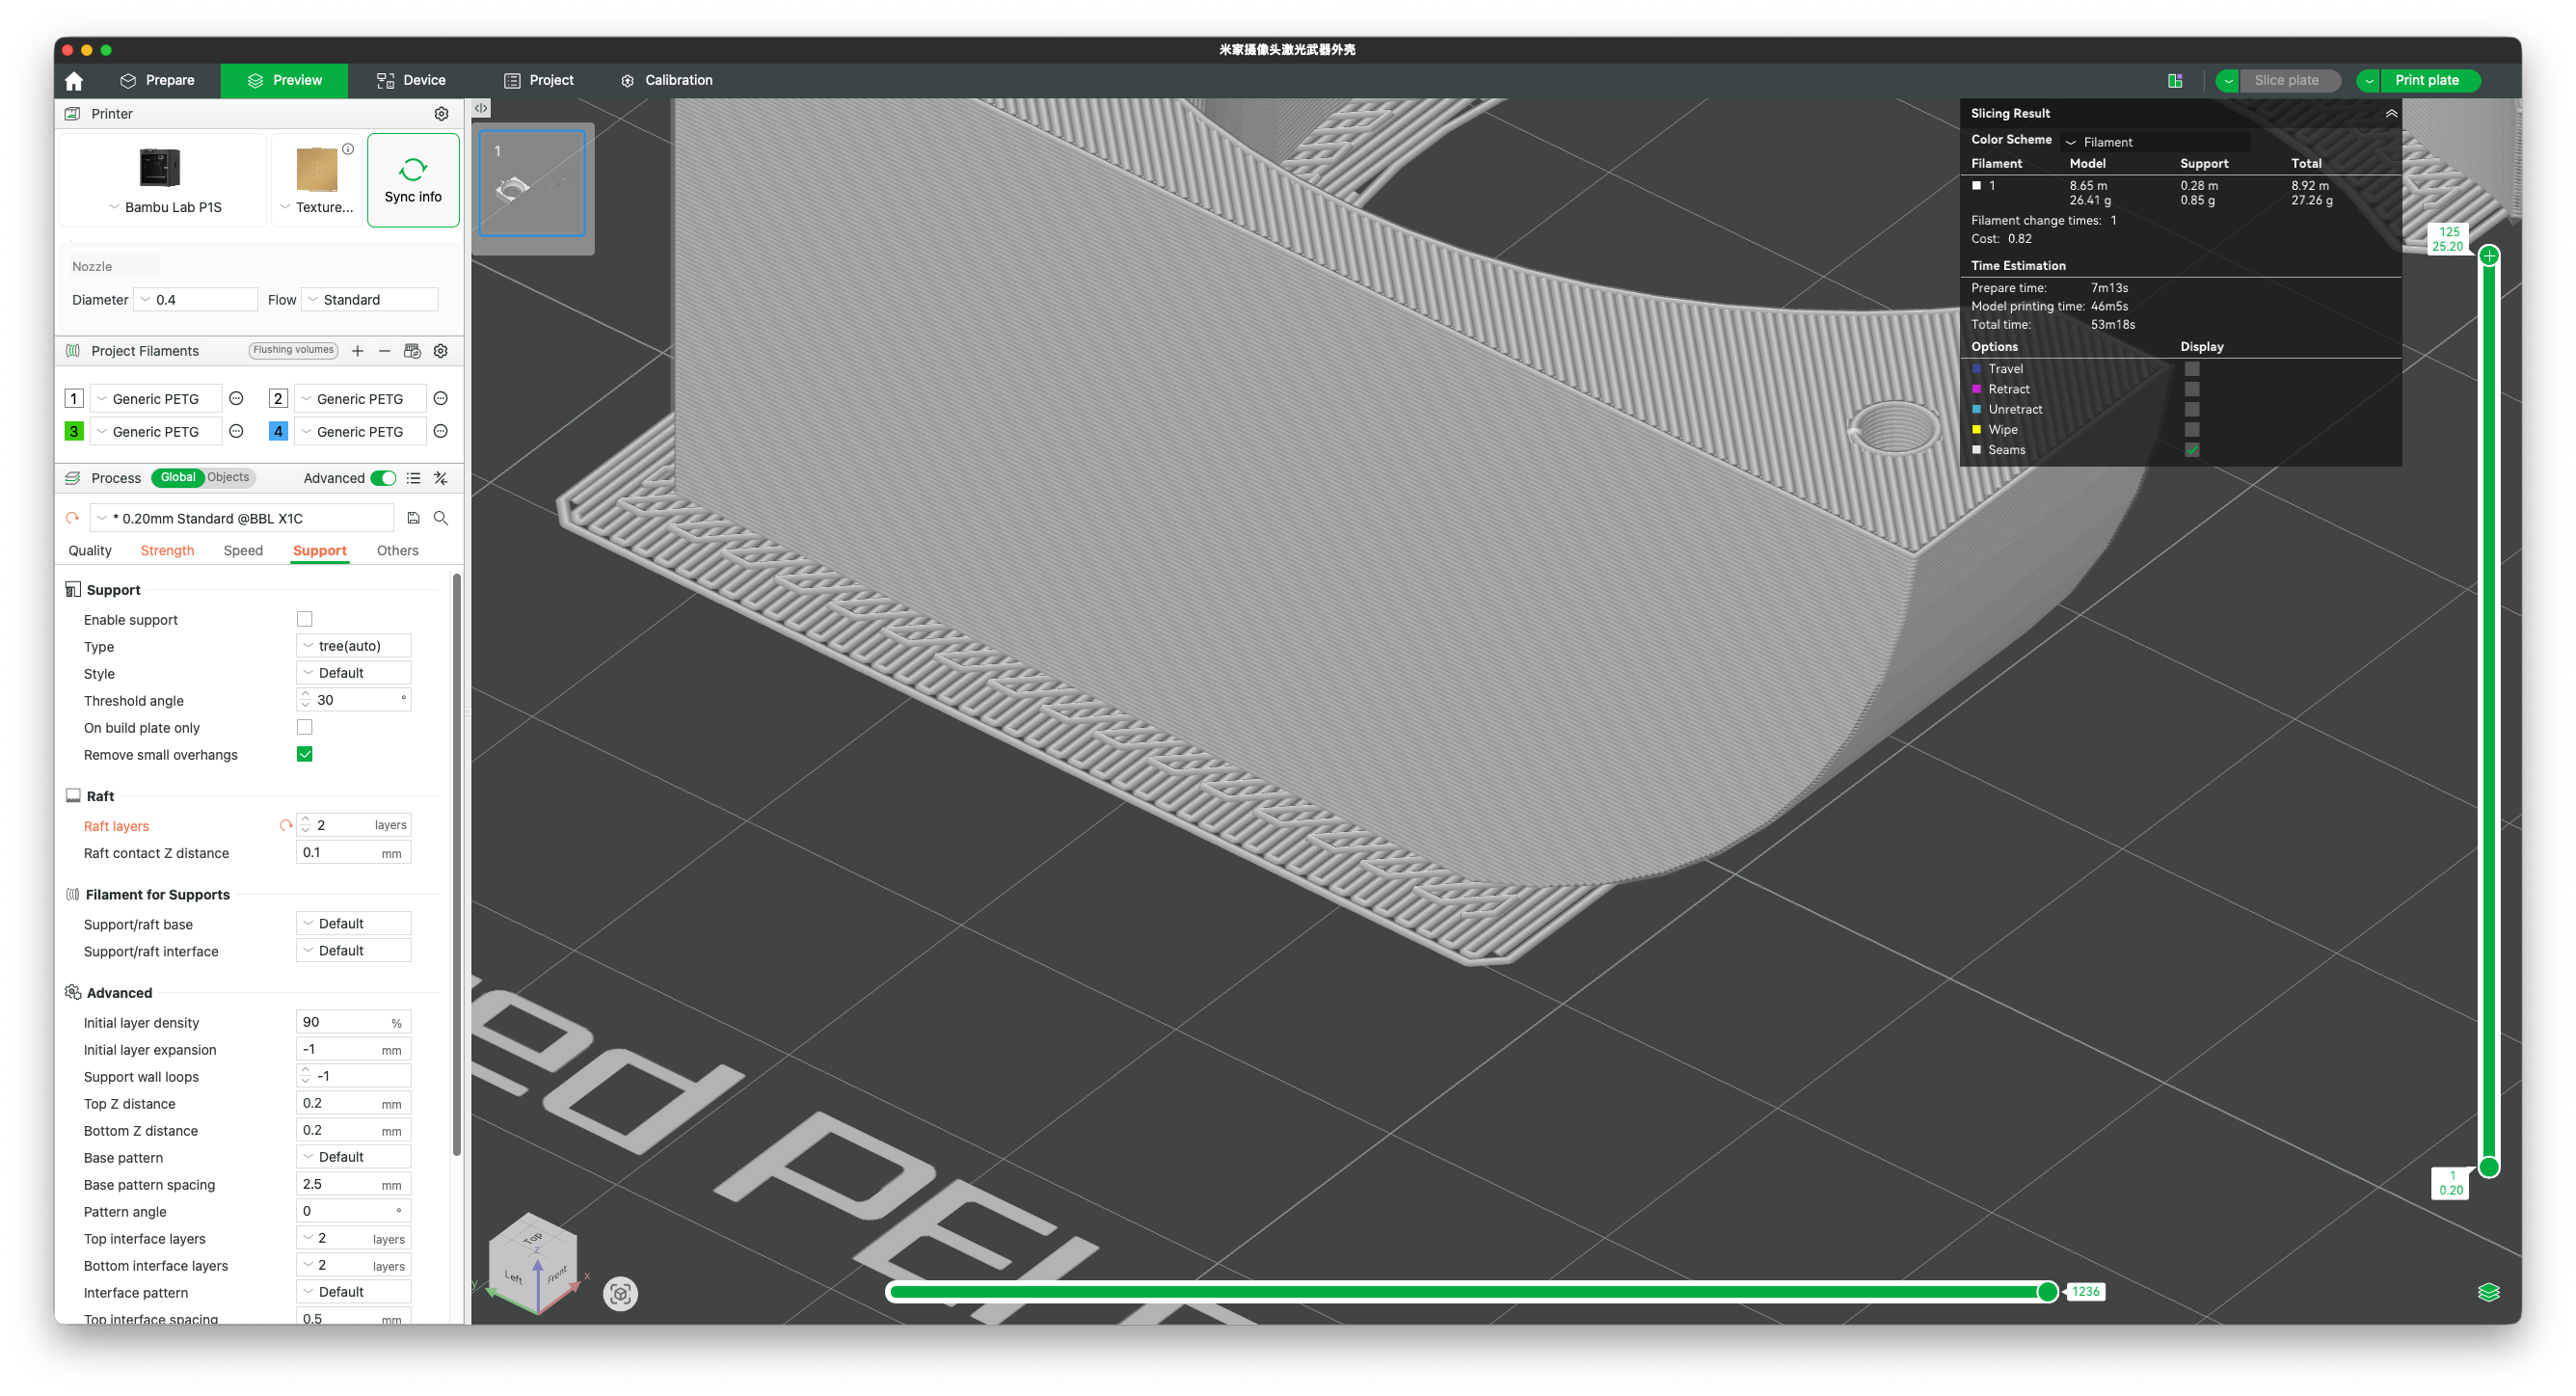
Working with AMS
The P1S printers are equipped with AMS (Automatic Material Storage). Think of this as a magazine of different materials where the printer can automatically select and load the material of your choosing.
The software is clunky on this. You need to either sync material information from the printer (requires Bambu brand material) or set it up manually. To manually set up material, press the plus sign and add the appropriate material profile. Then right-click your model and select change filament.
Not all materials are compatible with the printers and may damage them in the worst case. Only use approved materials.
Printing Precheck
The Bambu printers in the lab are relatively safe to use, and the machines have a lot of automated mechanisms for ensuring safe operation. However, some extra care is required to avoid damaging them.
- G-code should always be generated using Bambu software. If you want to run custom G-code or G-code generated from other software, consult lab staff first.
- Check that there is a build plate in the printer and that it is free from any previous print or calibration lines. If there is a completed print on it, remove it. If there is no build plate, ask lab staff for one.
- The orientation of the build plate matters for calibration. Place it in the printer with the calibration lines facing the front of the printer.
- For proper bed adhesion, the build plate should be clean. Wipe it down with a paper towel and some isopropyl alcohol. In some cases it may also be necessary to apply a thin layer of glue from the glue stick kept in the lab.
Finishing a Print
- Remove the build plate from the printer and take off the print. Take extra care when removing calibration residue — use a scraper rather than your nails (getting plastic under a fingernail is not a pleasant experience).
- Make sure the build plate is clean and free from any plastic residue before leaving. Wipe it down with isopropyl alcohol so it is ready for the next user.
Important Print Parameters
Before sending a print it is worth thinking through a few key slicer settings. These affect strength, weight, surface quality and how long the print takes.
Infill: Infill determines how much plastic is printed inside the model. Higher infill gives stronger parts but uses more material and takes longer. For decorative models 10–15% is usually sufficient. For functional parts under load, 30–50% or more is recommended. The infill pattern (gyroid, grid, honeycomb, etc.) also affects strength.
Shell / perimeters: Shell refers to the number of walls on the outside of the model. More walls give stronger, more solid parts and are especially important for thin-walled parts or fine details. 2–3 perimeters is a common default; increase this for mechanical parts.
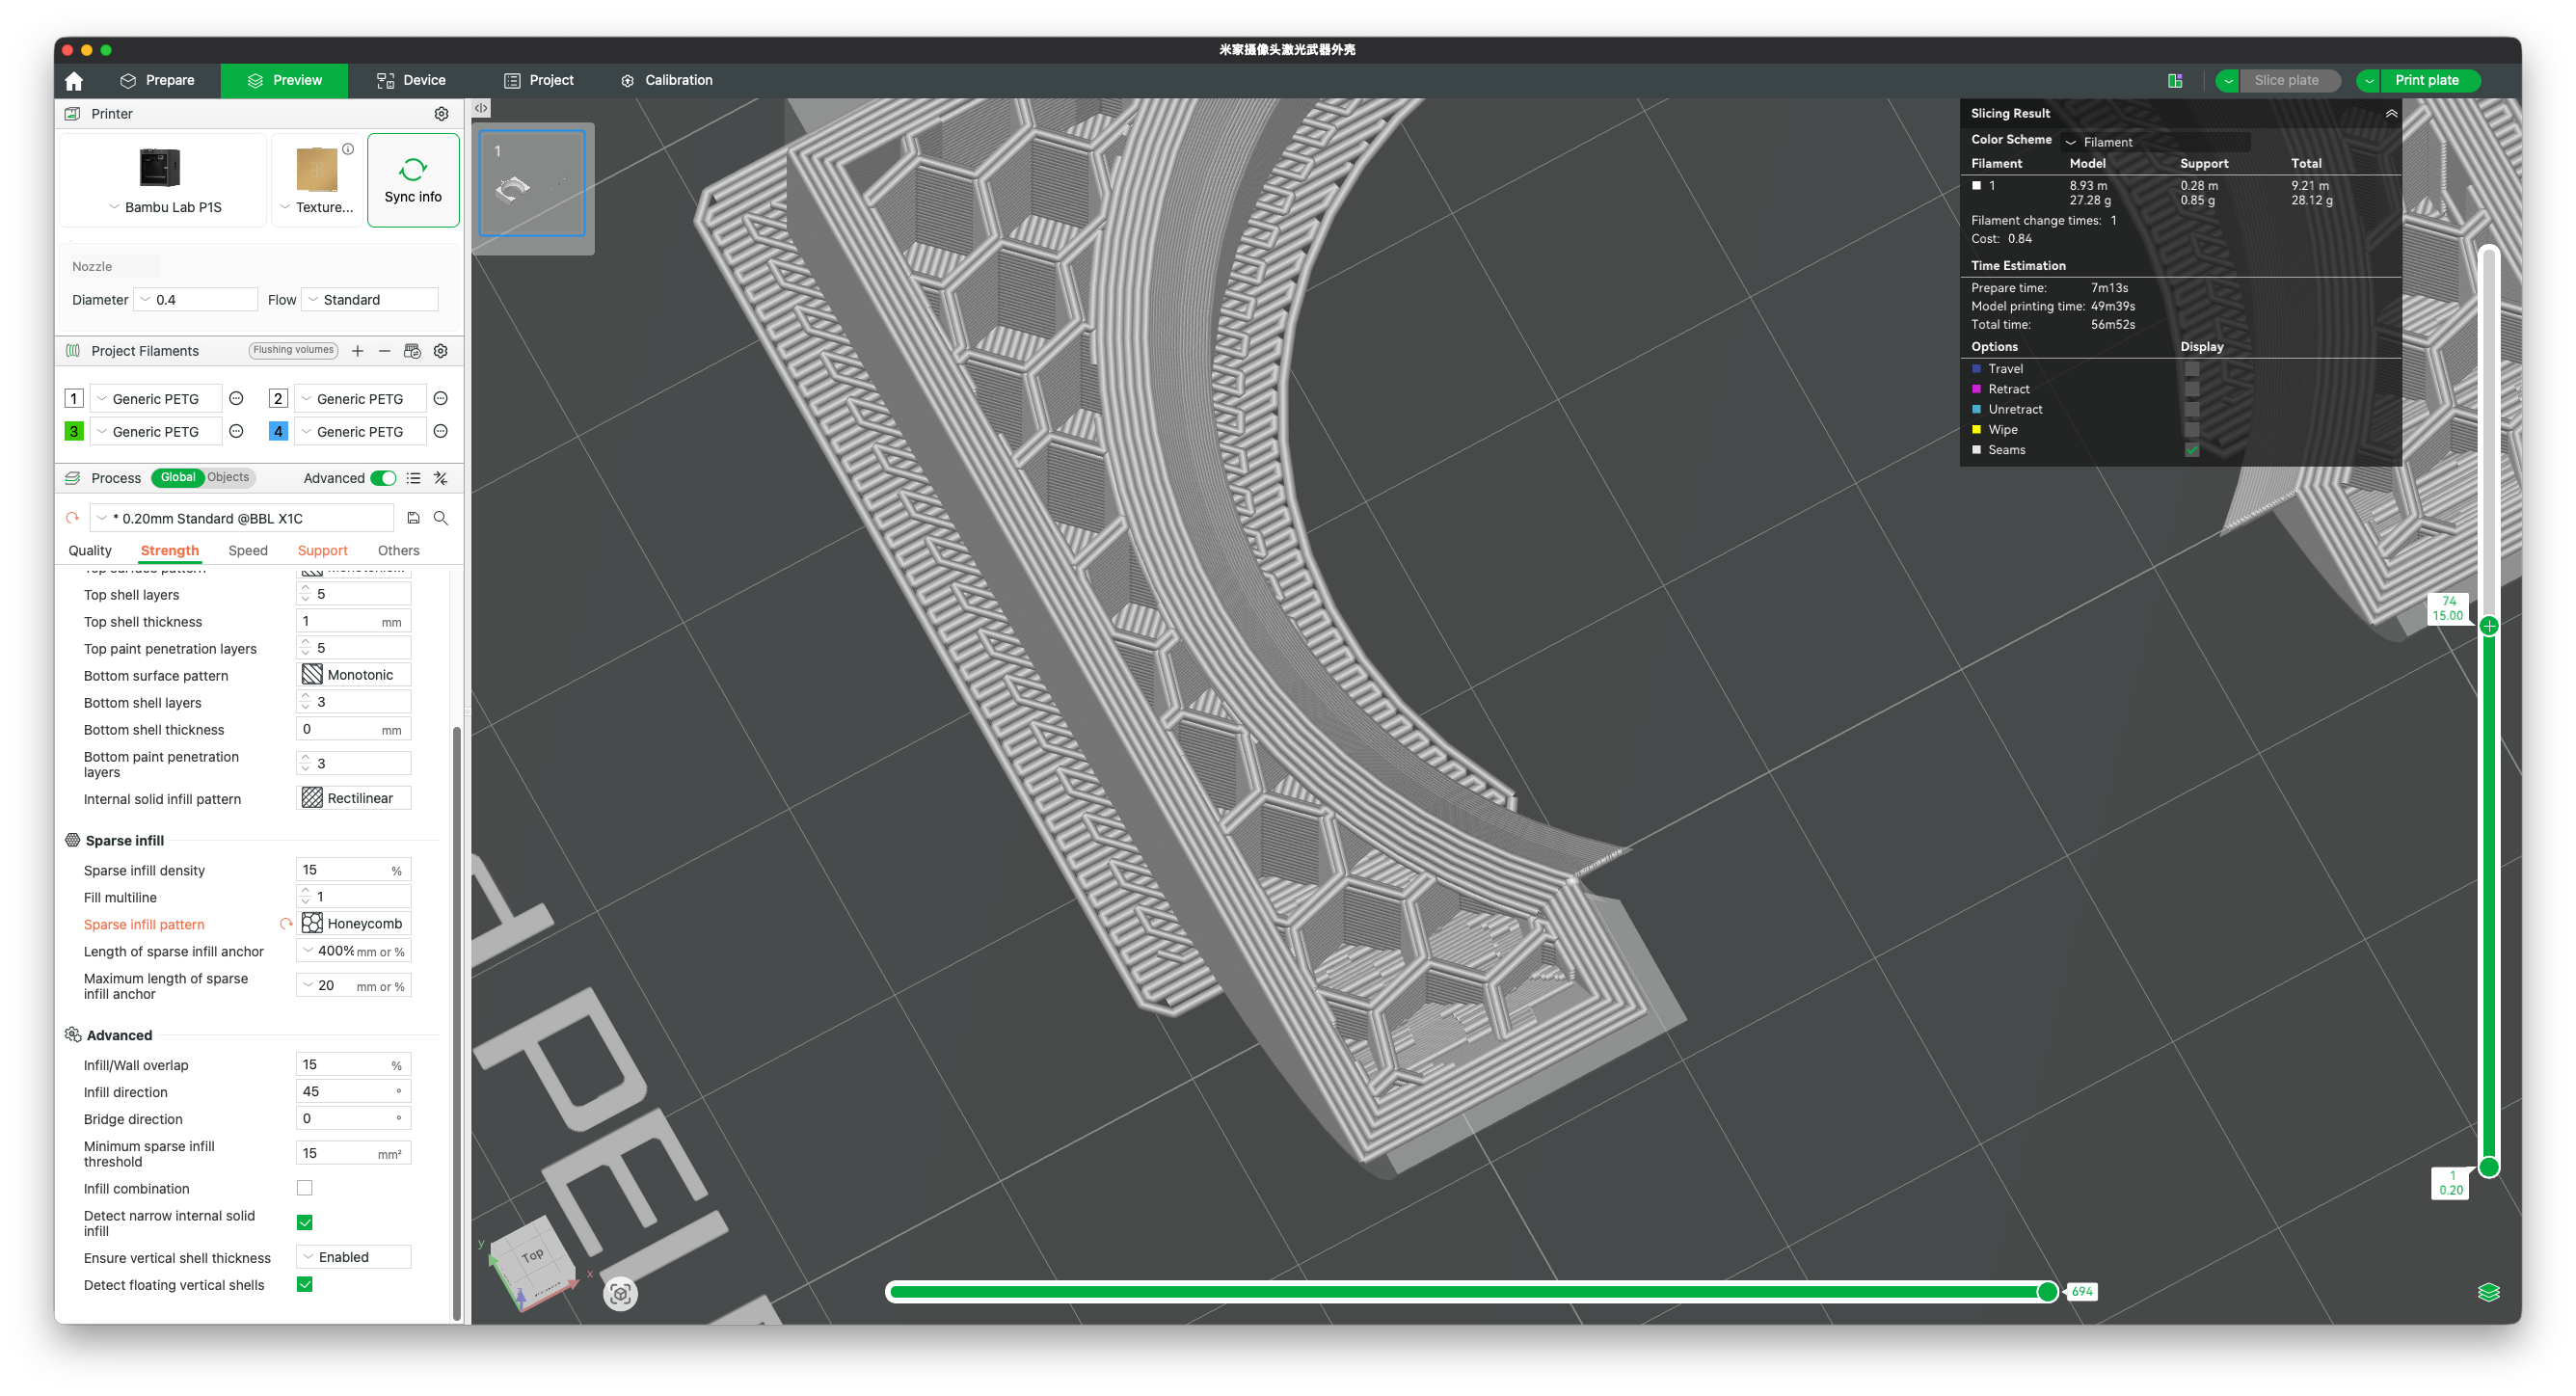
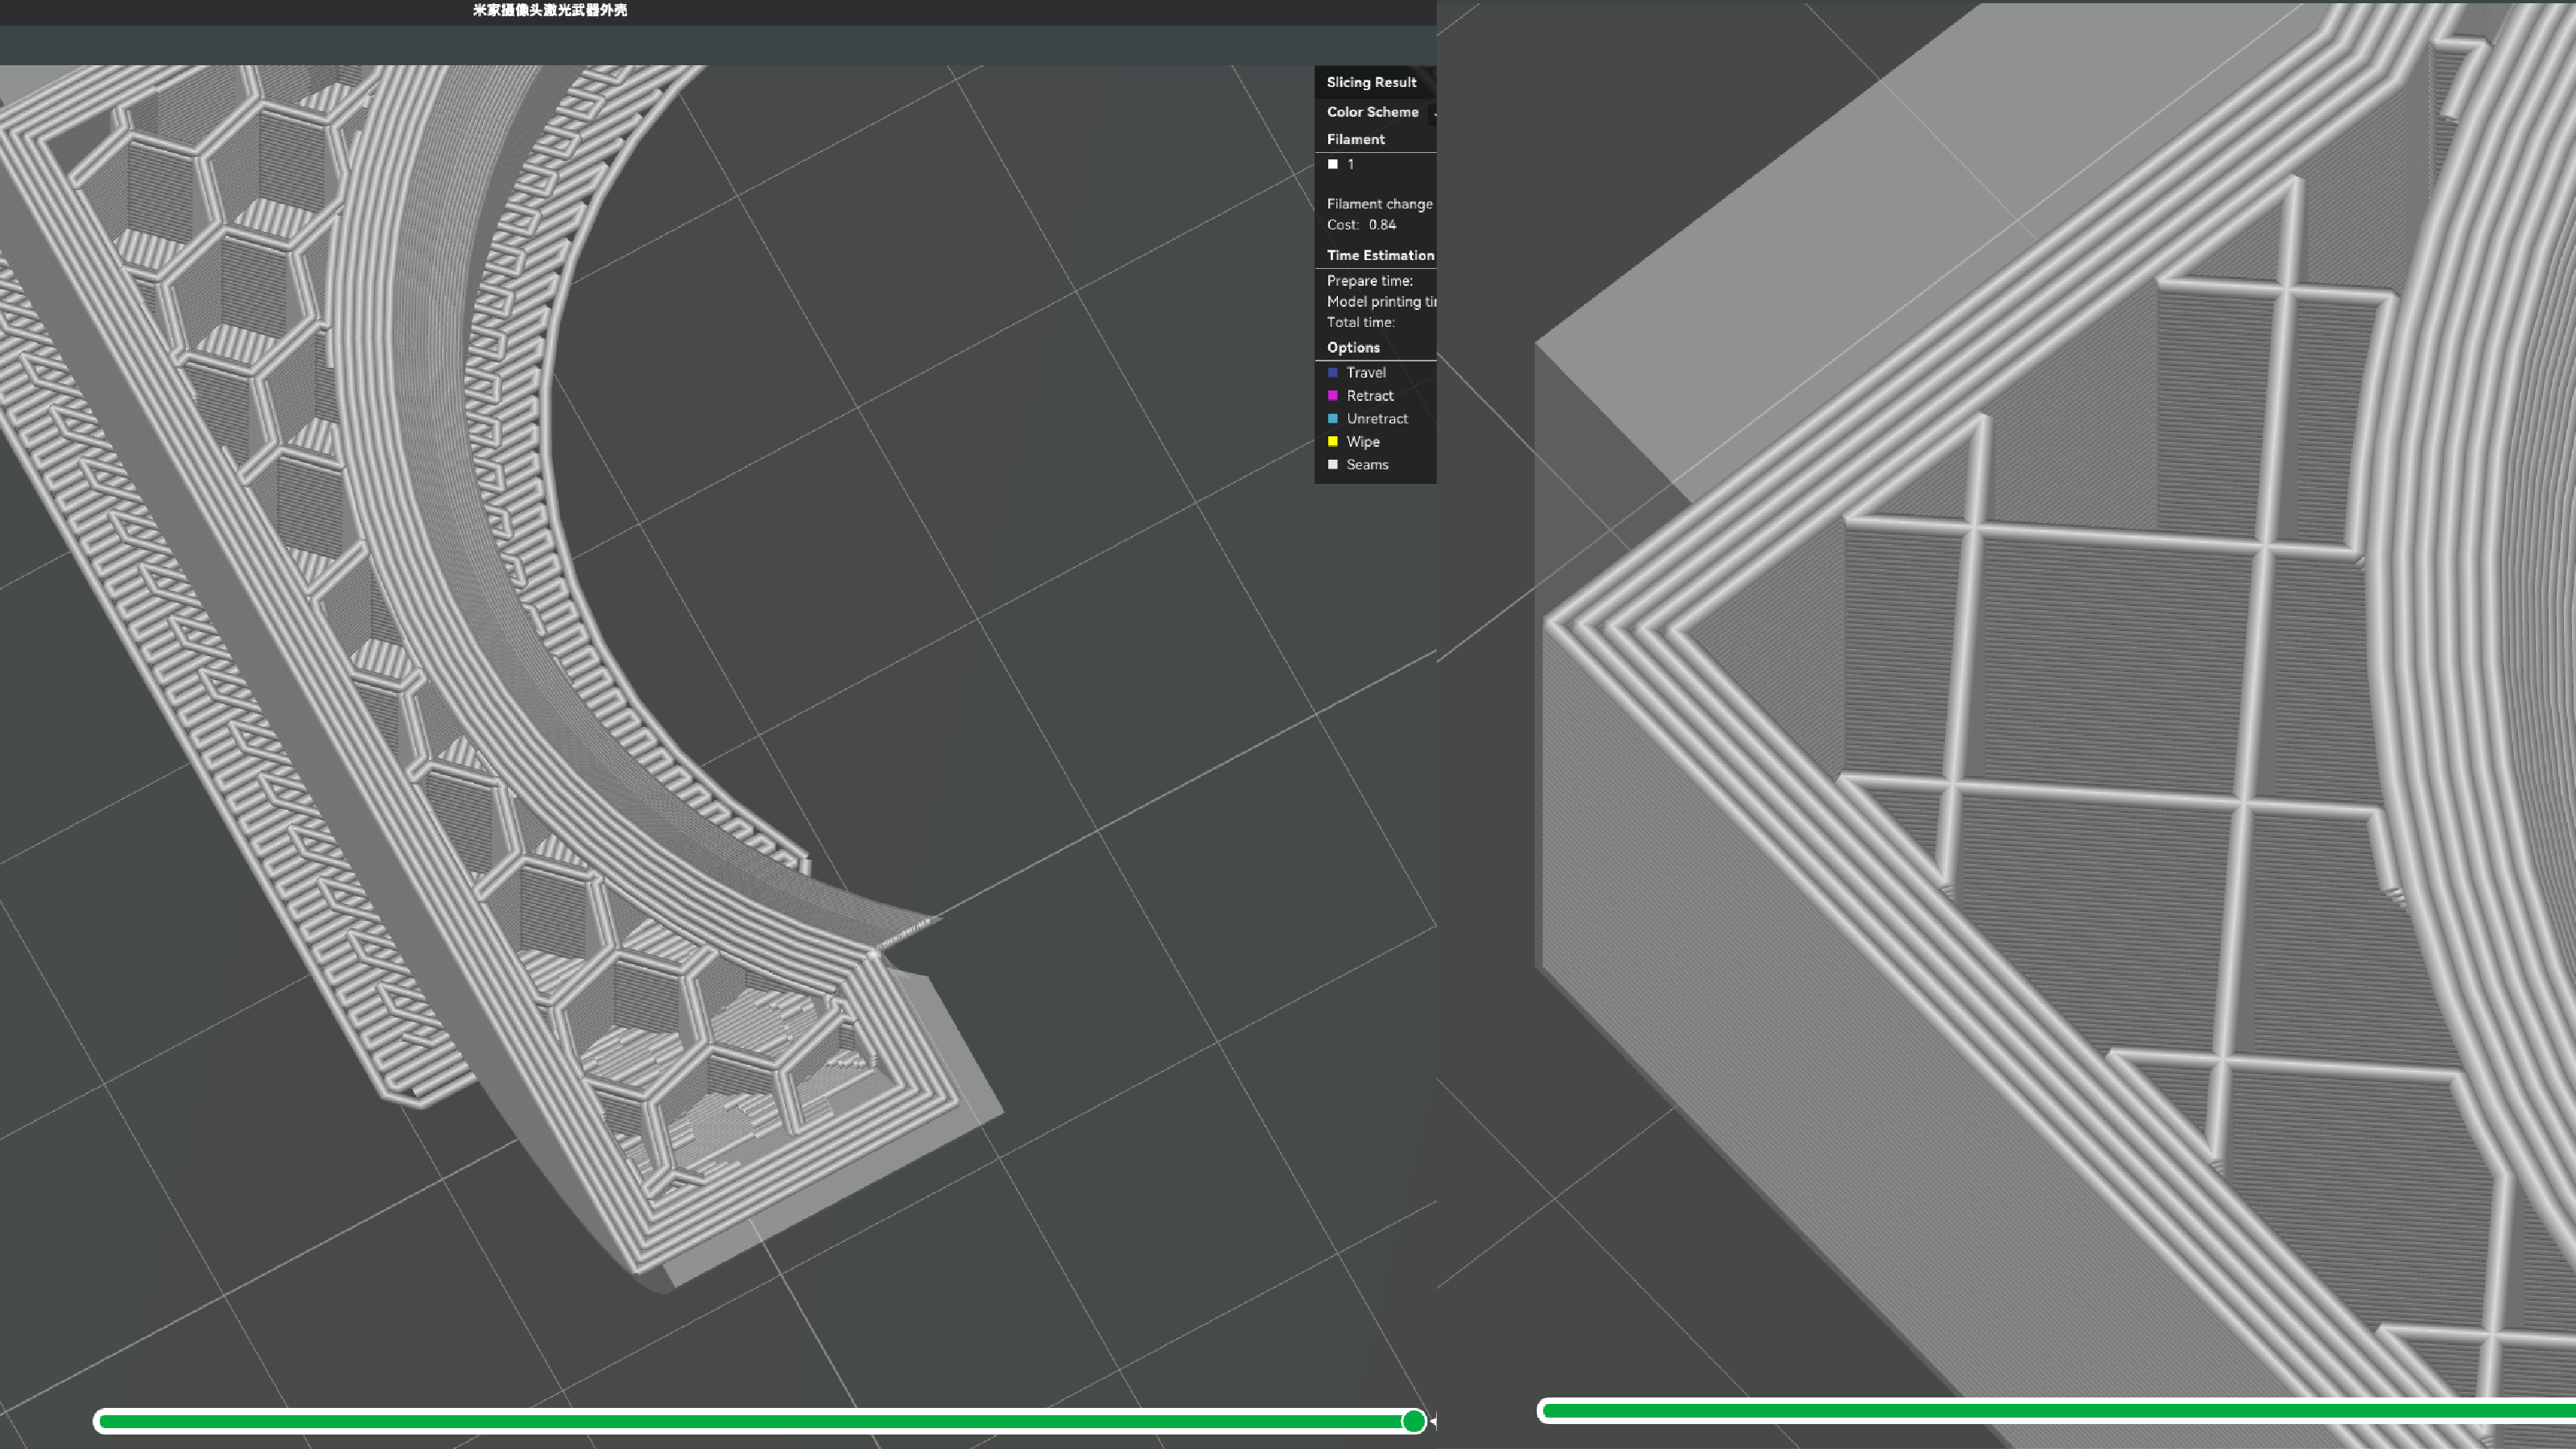
Layer height: Lower layer height gives a finer surface finish but significantly increases print time. 0.2mm is a good default. Use 0.1mm for high detail, or 0.3mm for faster prints where surface quality is less critical.
Supports: Models with overhangs greater than roughly 45° need support structures to print correctly. Bambu Studio can generate these automatically. Keep in mind that supports must be removed after printing and the contact surface may be slightly rough. Orient your model strategically to minimise the need for supports where possible.
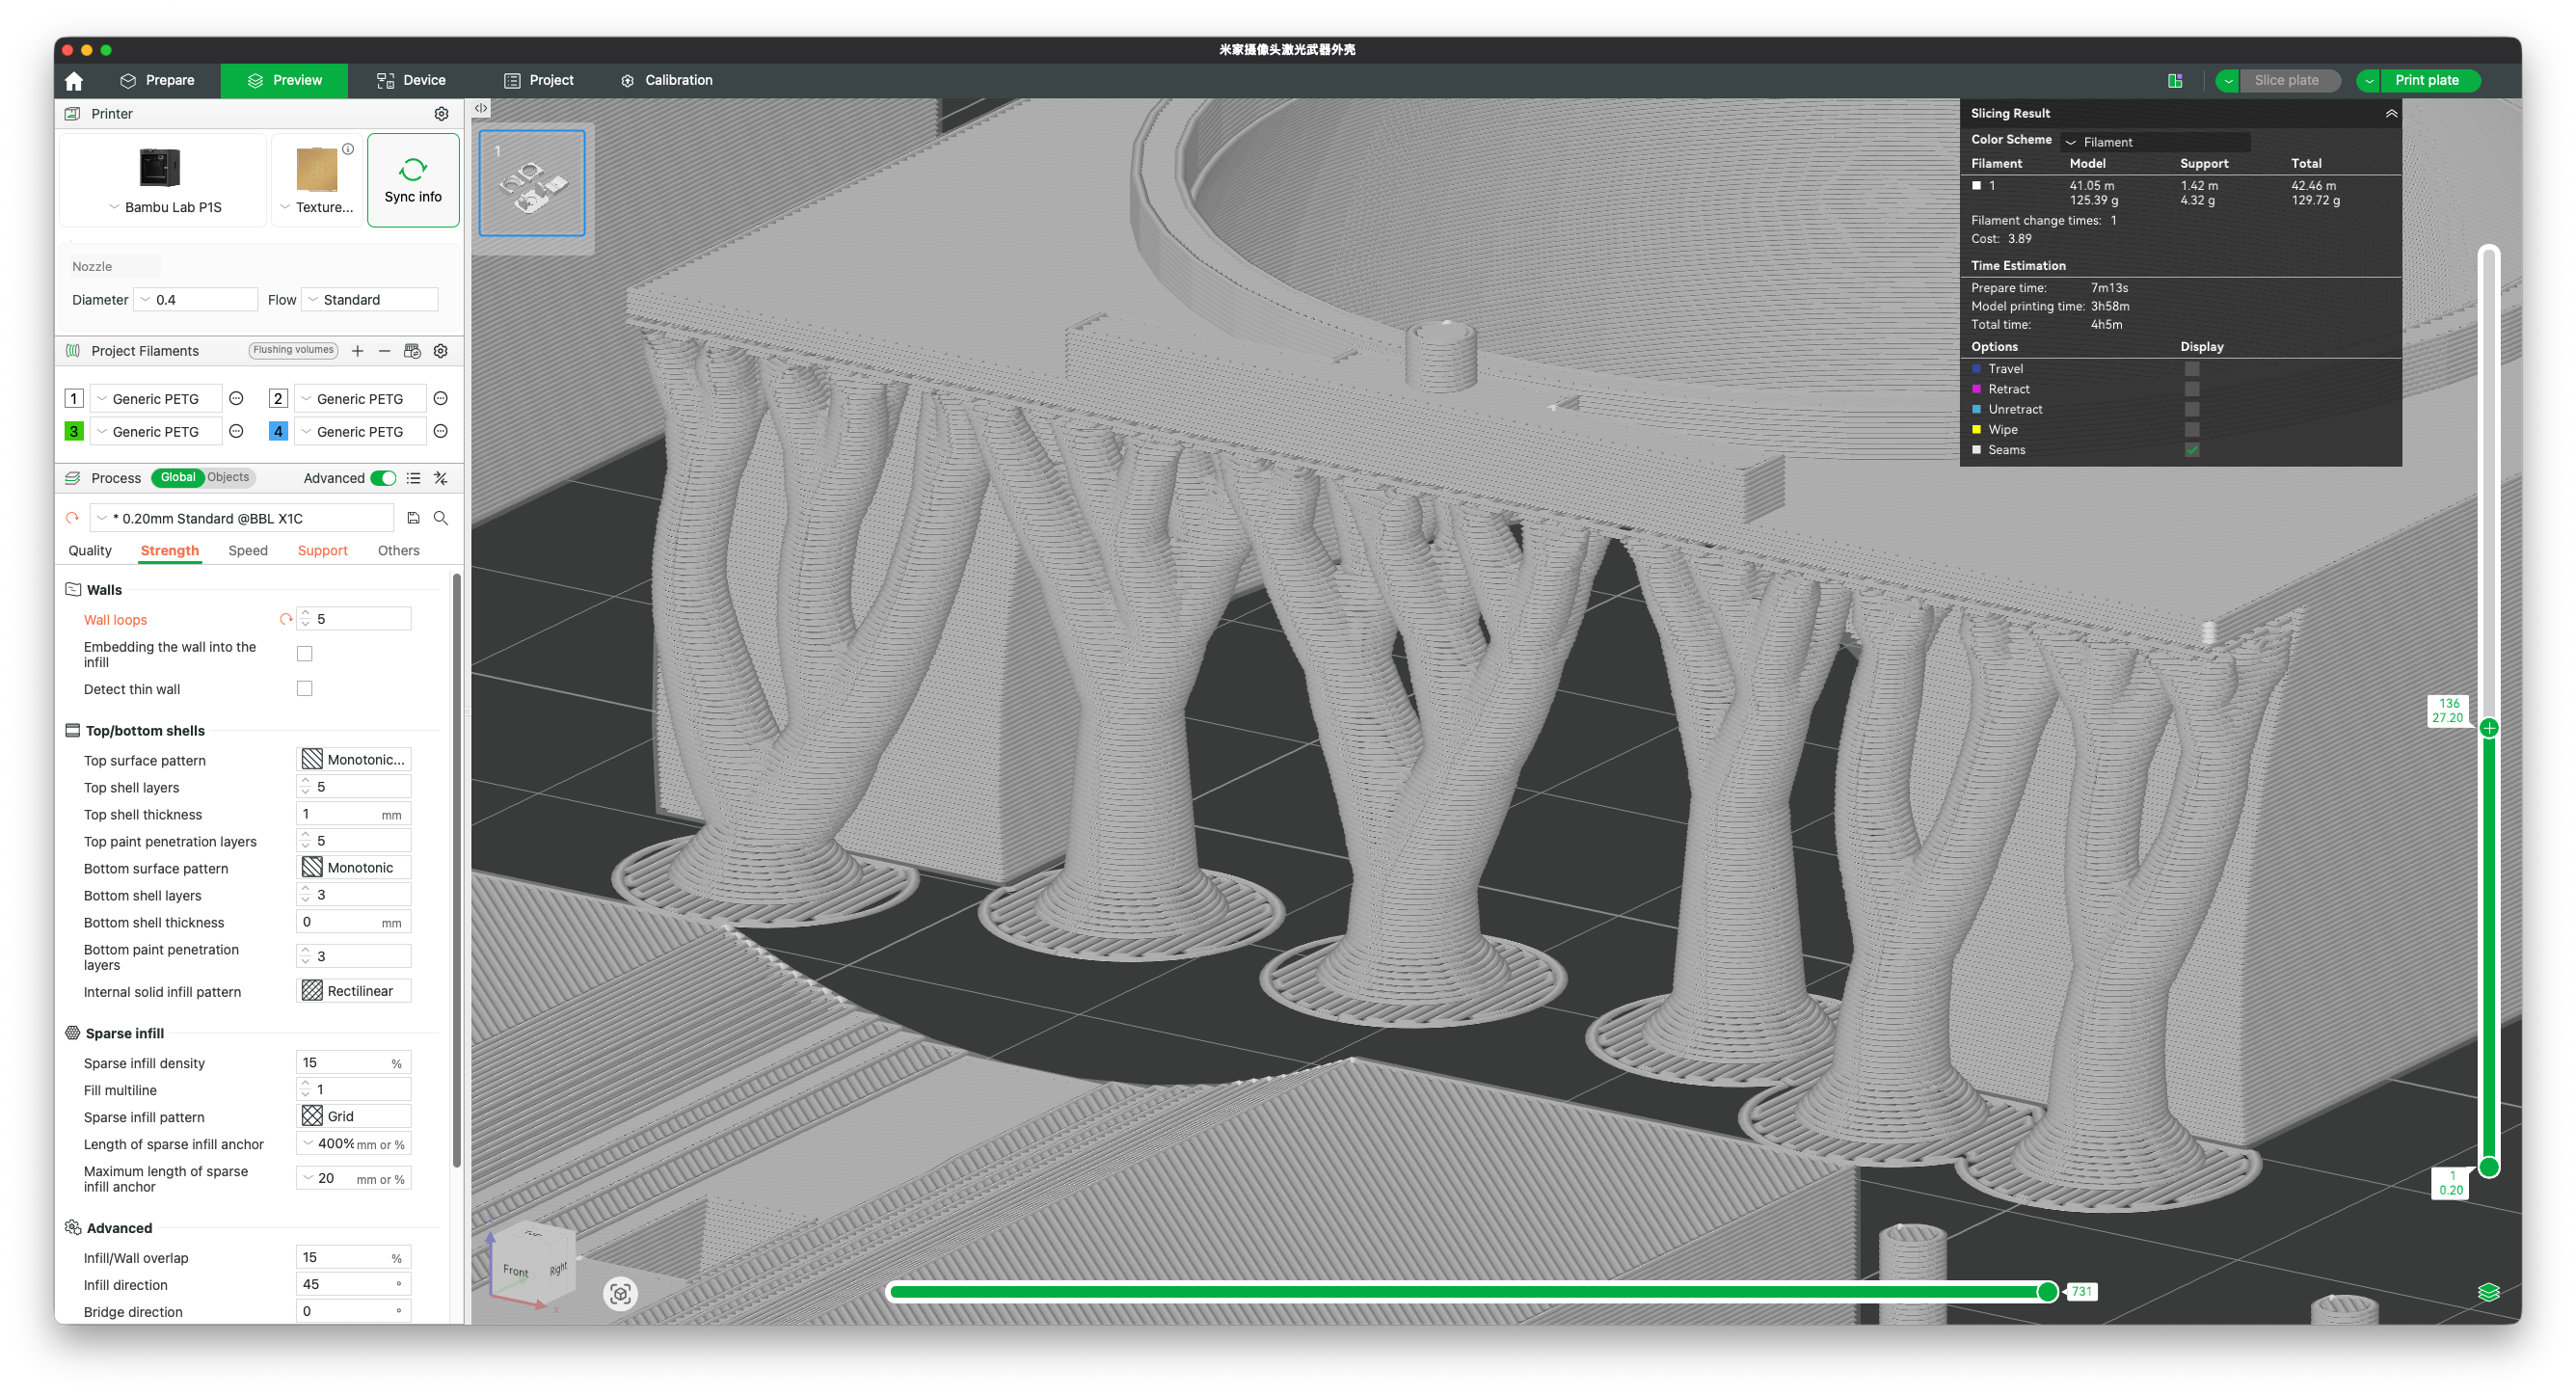
Brim / skirt: A brim (a flat border around the base of the model) improves adhesion to the build plate and reduces the risk of warping or detachment during printing. Recommended for tall, narrow models or models with a small footprint.